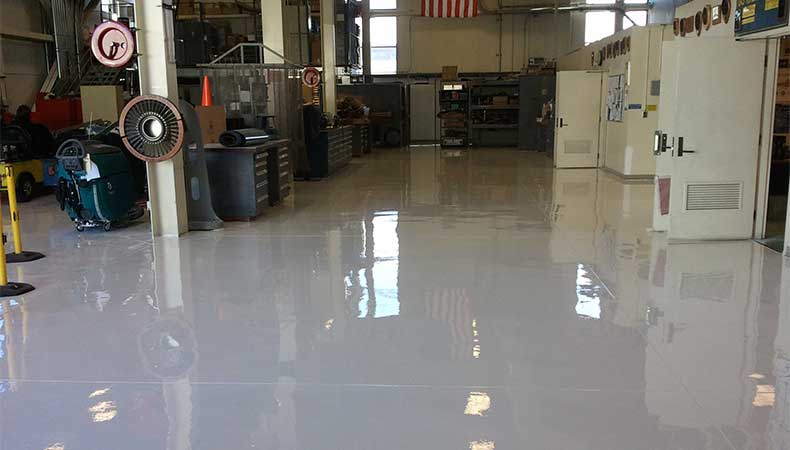
Install An Epoxy Flooring System?
One of the easiest ways to decorate any type of floor is by using epoxy resin. An epoxy flooring system offers many advantages over other types of finishes including low maintenance and durability. Additionally, it can be applied on nearly any type of substrate.
After the design and calculations of epoxy paint for flooring have been completed, it is time to determine how many coats will be needed. Usually, two or more thin layers are better than one thick layer as they provide additional strength. Also, it is important to be aware that the additives mixed within the resin contribute significantly to its hardness and other important physical properties such as chemical resistance, flexural strength, and impact resistance. Although some people might think that adding color into an epoxy coat looks good, doing so can compromise its performance.
Professional Epoxy Floor Coatings
Professional epoxy floor coatings are installed by first cleaning the surface of the substrate with a degreasing agent to remove all oil residues which may prevent adhesion between old paint layers or any other type of contamination. Special attention must be paid to removing grease and oil residue from all joints and cracks, as it is the most likely place for water to penetrate during installation or later on when epoxy flooring has been properly cured.
Proper curing of an epoxy resin involves controlling three critical factors: temperature, humidity, and air movement. First, the surface should never exceed 82 degrees Fahrenheit (27 Celsius) until it hardens completely. Second, maintain relative humidity at about 50 percent while the paint cures; higher values will produce a soft coating while lower values will result in brittle coatings that crack easily under pressure or impact damage. Finally, people should ensure there is proper ventilation and airflow over the painted substrates for proper curing conditions.
Epoxy resin paints can be easily applied by rolling them onto bare concrete floors or top-coating any existing paint jobs, stains, and other types of coatings. During application, it is important to avoid creating bubbles in the liquid that may create weak areas in the film. Also, it is necessary to ensure that the thickness is even and all joints and cutouts are correctly filled and smoothed for a professional-looking finish.
After the first epoxy coating has been applied on a substrate, it must be left to dry for three days – or as needed – before applying another layer of paint on top using an offset steel trowel. After this time has passed, apply multiple layers of ep resin varnish until its appearance resembles that desired. To ensure that all bubbles are removed and the epoxy resin is applied correctly, people should wait one more day after each layer has been laid down before applying another coat.
After the final layers of the epoxy flooring system have completely hardened, it is time to sand the topcoat according to industry standards. Usually, this process entails lightly sanding with 100 or 120 grit sandpaper until all scratches are reduced or eliminated at which point they should start using a fine 400 grit paper for the second step.
At this point, any excess dust on the surfaces can be vacuumed up followed by polishing with petroleum jelly on an electric polisher until its appearance assumes a shiny luster. The entire surface must then be cleaned with a commercial degreaser to remove any type of residual petroleum jelly. Finally, people should apply two coats of epoxy resin varnish to protect the surface from water damage and other types of wear that can occur over time.

